Opalescent Descent:
I've been watching a lot of time lapse videos of the art making process lately. It's been really interesting to see people's processes. I haven't actually looked into how to record one of those myself, but I do make it habit to save frequently and so we have this here--!
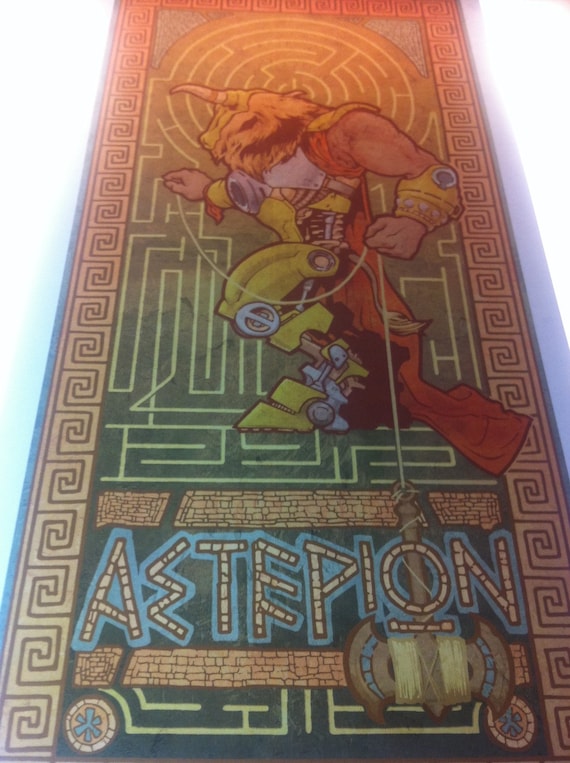
This a short process post about making this digital painting of a character called Opal in the comic "The Front" by Jerzy Drozd.
The author is of course is one of the hosts on "Art & Story", a podcast that explores the deep ideas within the craft of cartooning. I originally read the comic to better understand the references made in the show about considerations for character development, panel layout, dialogue, themes, pacing... it goes on. Like mentioned, the podcast digs really deep!
As most of the comics I've been reading lately have been more for grown-ups, the book was a surprisingly entertaining read as all-ages content. It hammered a good point: "All-ages" doesn't mean "For kids only"! Solid storytelling with compelling characters and a lot fun, find it on Indy Planet here.
The podcast is also on my most-recommended list not just for cartoonists, not just writers-- but any folks out there with some curious spark in them. A musician friend of mine and I have can rap and relate about some of the creative topics covered.
Further thanks goes out to another podcaster and prolifically cool artist, Chris Oatley. This drawing was done to test out a set of Photoshop brushes that he offers on his site. It's also chock full of other great resources and tutorials. "Chris Oately's Artcast" has great insight presented in a really down to earth way. Great accompaniment during long nights drawing at the art table!
Now on to the Process! :
1. Drawin' it out loose

I like sketching pretty small for thumbnails-- often on a post it note or similar size. I use a bunch of these to figure out which ones work best without being hampered too much with detail before drawing out a blueline at final size.
If I like one of the loose thumbnail sketches enough though, I'll scan it in, blow up the image, and use a lightbox to draw over it. In this case, I used the iSight camera on my laptop. This little device has more uses than just making silly faces in PhotoBooth (which I do plenty of too..;)
2. Addin' some color

Import the picture into Photoshop. This was using CS3.
I used a reference image from the character profiles on "The Front" website to keep on model and started laying down some color on a separate layer from the sketched linework using Multiply in the Blending Mode. I do this often so I have an Action set to do this with one stroke of a Function key. Shortcut key here will be in []. These little seconds saved add up and really speed up the workflow for me~
3. Start turnin' the 'drawing' into a 'painting'

I'll often try to keep a bit of the linework showing through--There's often more geture captured in those initial lines. Making those extemporaneous lines doesn't happen for me as much on a tablet versus good ole pencil. I imagine the Cintiq has much more mark making possibilites.
Using Hue & Saturation [cntrl-U] and clicking the Colorize box, I changed the linework into blue lines to match with his base color.
4. Renderin' out the forms
 At this point, I've merged the layers into one above the neutral gray. I pushed around some of the sketched blue lines using the Smudge tool [R], and started using one of the brushes in the Oatley tool preset: "A_Sketch Pen_50". I like how it responds to pressure, even on my inexpensive Wacom Bamboo (my tool of choice on the go).
My challenge with this character was trying to show some parts of him as traslucent, like real opals.
...not sure how his circulatory system works or how he puts a shirt on over his Popeye arms in the morning, but I think it's okay cause he looks cool~
5. Checkn' the tones

I turned down the saturation [cntrl+U] to see the grayscale values and see what parts of the drawing fell flat. I check the levels balance [cntrl+L] to move the sliders around to get a some good contrast. For other parts that still needed tweaking, I used the burn tool and dodge tools [O] to punch up darks or lights, respectively.
Though I think these tools really help in expediency, they do take out a lot of the control of painting using a palette of colors and traditional painting methods, so be aware~
Using about 80% Opacity for the brush, I paint over more parts. Once I have a general set of colors I'm liking, I'll sample from other parts of the images using the eyedropper tool [I].
6. Addn' a background

And finally here we go. I went through a few iterations for the background... many didn't work for the lighting on him since I hadn't considered where he was before finishing. I got a bit to caught up in the pose. I ended up referencing some panels in the comic for the tech-inspired background and make some sense of the rim lighting on his pants.
A lesson re-enforced-- think about the environment before getting too wrapped up in rendering bells and whistles of a character!
I have some ideas for my next one to keep this point in mind. More to come, hope you enjoyed :]