

Going Gizawatt
[Scroll to bottom if you don't wanna read/see an animated .gif !]
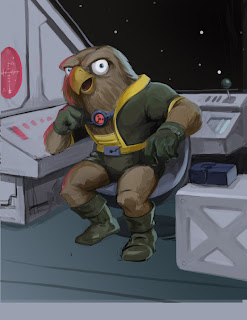
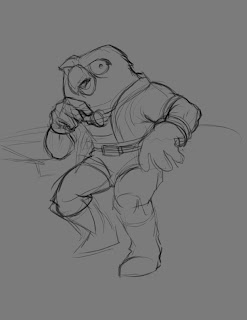 I usually start with a pencil sketch that I scan in-- but I went rogue this time. An idea for the painting was in my head pretty early on, so I worked out the pose straight into the computer using my Intuos tablet. No special brushes at this point, just good ole Round, with pressure sensitivity turned on.
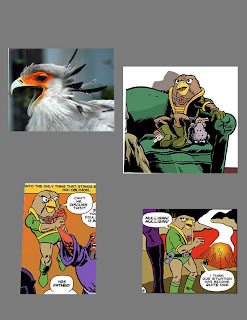 I realized I needed better reference for Mr. Gizawatt to familiarize myself his costume, proportions, and see which parts of him are anthropomorphized. I would later use the bird photo reference to put in subtle feather textures on him.
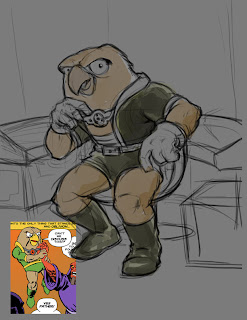 I kept this nice image of him being choked (I know, how cruel) as I laid out some of his environment. I pictured him as being a reflective kind of guy and wanted him to rest his chin on his fist, but hadn't figured out where his elbow would go at this point.
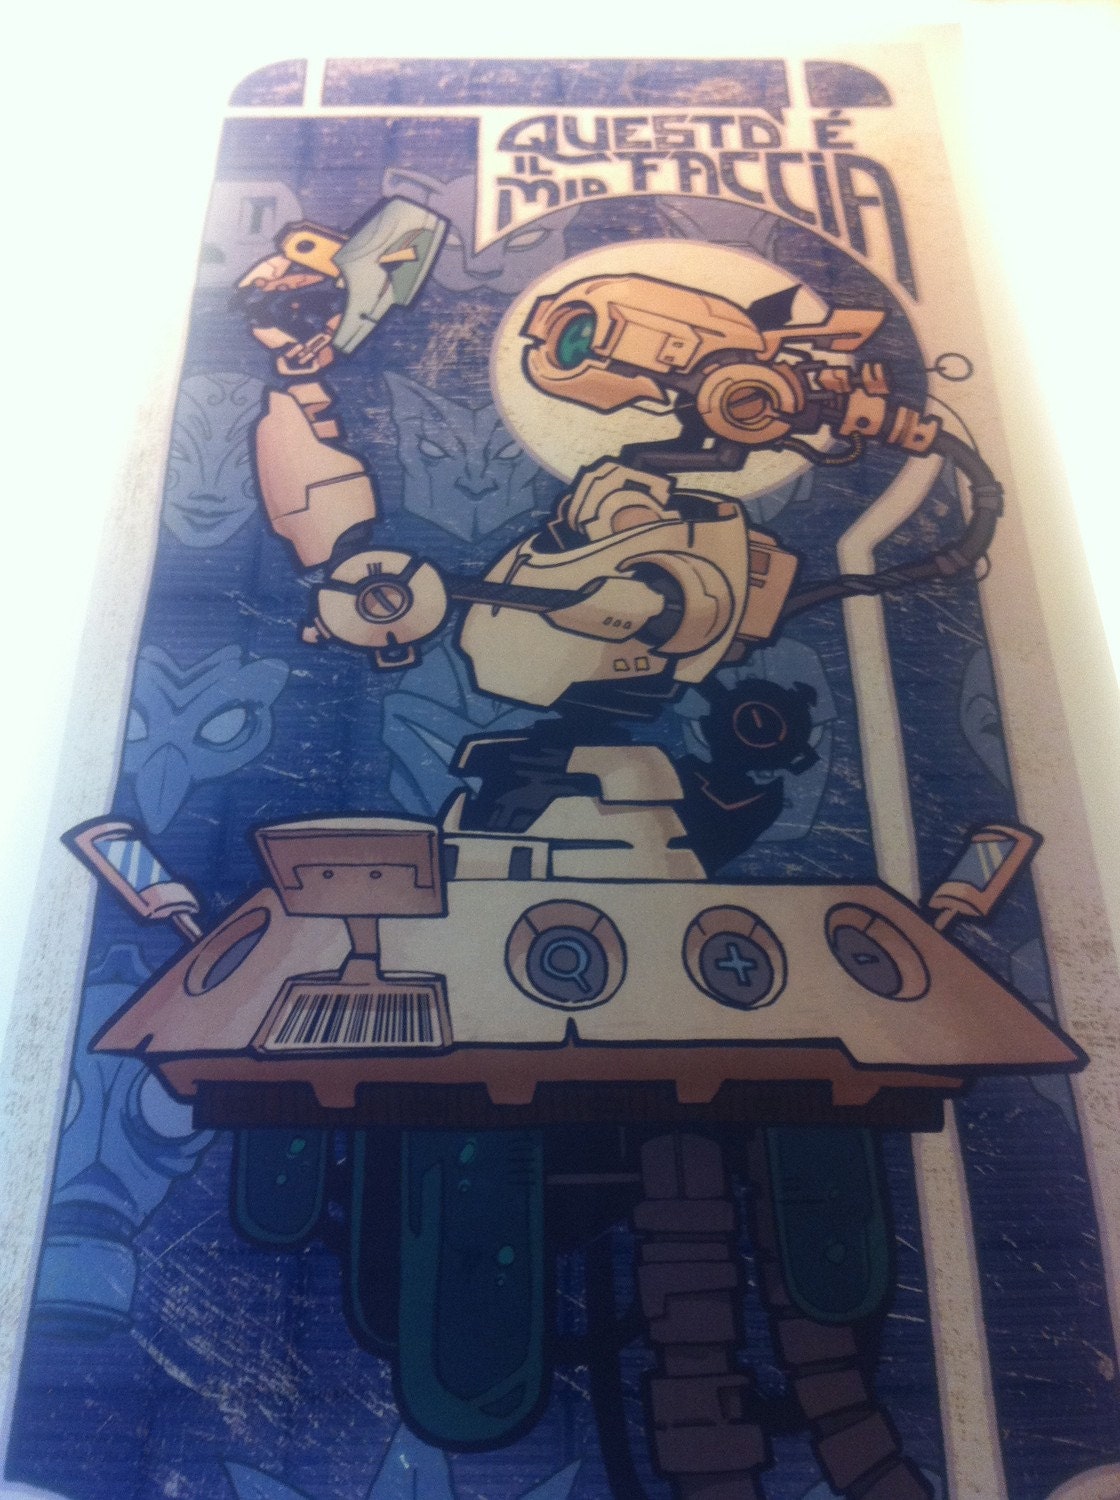
The spaceship consoles were actually desiged around him to fit as I added in more background. Once I knew just about where things would go, I separated him onto another layer and began to define his silhouette. My favorite brush for this part was from a Chris Oatley's set of custom ones: "Soft Oil Tapered 88" and a modified Calligraphy Oval set to Pressure sensitive.
For the most part, I paint at about 70-90% opacity.

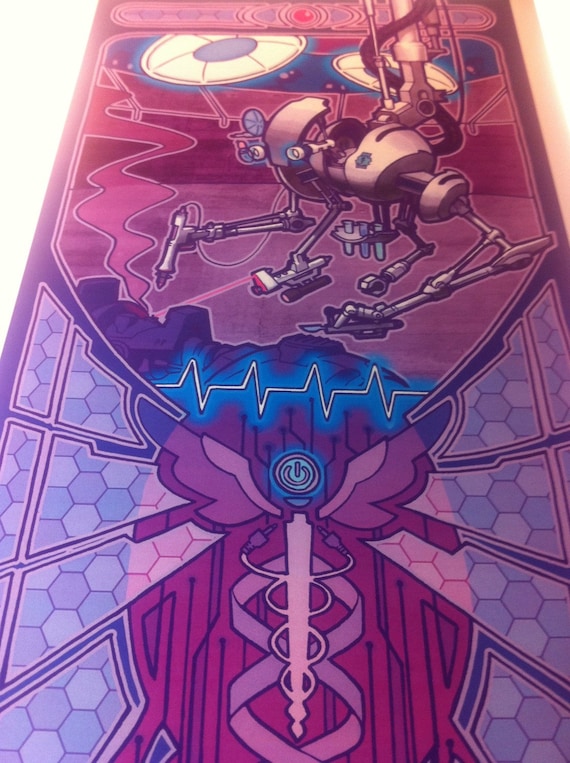
Here I started to add a strong light source. I wanted something bright and saturated so went with a red glow from a radar screen or something. I wanted to keep with a very colorful palette and also a compliment to his green suit.
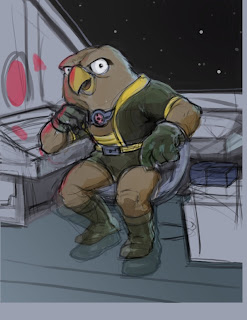
I shrank his feet [thanks Transfom tool!] to better match his small stature. I also cut out the metal box onto another layer so I could compose it as a foreground element later.
At this point, you start to see more form being described as I darkened the figure using Multiply in my Brush options. Using the same or slighter lighter color in multiply seems to keep it from getting too muddy. I try to sample color [alt/option] while using the brush tool to stay within a decided color palette and use HSB sliders in my Color selection window so I can see both value and saturation.
The paint challenges at this stage feel like a mix between Acrylic and Watercolor so I treat a bit like Gouache. I used less opacity for laying down darks and higher opacity for lights (Something I read from Paul Lasaine's blog-- an exceedingly amazing Dreamworks artist who's very generous in sharing his knowledge and methods)
A lot of the background was very angular and geometric so I used a lot of Shift-click and turned off Pressure sensitivity to draw in the spaceship interior. Once the forms were in there, I used Magic Wand to select planes of shapes and added in some 'painterly' strokes to give it a bit more lived-in look. I used the Burn/Dodge tool to do the same and punch it up. The floor was a photo texture Transformed with Perspective/Skew to fit.
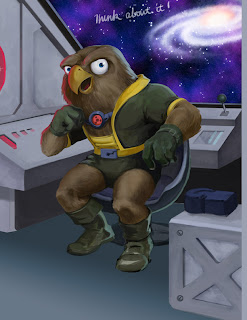
The Nebula was added in to give it the second rim light source (putting multiple light sources throws a form in the round real quick). He's actually lit by three (the third one at his feet shining his boots...maybe coming from somewhere behind the box) just to stage it bit more 'theatrically'.
I could have taken the easy route and just found a pic from NASA.com, but decided to draw the the spacescape from scratch. Here's a how to build your own universe:
Galaxy Quest
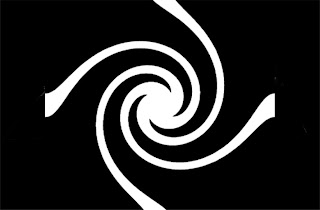
Draw a simple starburst pattern from the center using the Polygonal Lasso tool, then
[Filter > Distort > Twirl]

[Edit > Free Transform] to manipulate it into the right perspective.
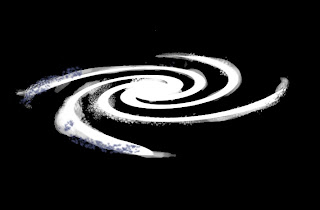
Start to add some brush texture. I used a combination of Spatter Brush and a custom Oatley's "Feathers" Brush while adjusting Scatter in the Brush Presets. The custom brush creates that speckle pattern if you don't drag the stylus, just dab like a real-life sponge and let Size Jitter from the Presets do the work for you.
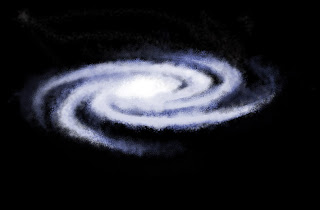
It kind of jumps here... I must've got too excited about creating new life and forgot to save a step (it happens ie: Cambrian Explosion~). I selected a bluish/purple hue with a slighted cool white and alternated between them painting the spiral arms. I tried to finish with the lighter stars opaque on top. For the galactic core, I used the brightest white.
 The interior core was a white with an orange [Outer Glow] set in [Layer Styles]. I played around by duplicating and using a combination of Blending Modes.
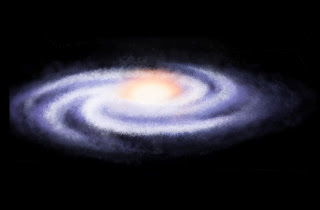
To create just a few billion (well technically...) more wayward stars, I duplicated on another layer, set the blending mode to Screen, reduced Opacity, and scaled it it to haze out the edges.
Eat your Heart out Hubble

There's tons of ways to draw a star field I'm sure, but I used the Photoshop trick of [Filter > Noise > Add Noise]. Check Monochromatic, play with the sliders, and watch a black canvas turn into deep space. I selected a swatch of the dots, duplicated, and Transformed them larger to make bigger stars-- Screen Blending in Layers to see all of them.
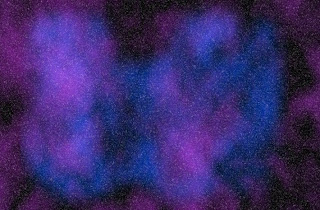
 On two Layers, bottom one black and second one a saturated color, select top color and [Filter > Render > Clouds] and repeat the filter until you get some clouds you fancy. I took a piece and blew it up to the size I liked.
Repeat the process using another color. You can see where I Lasso'd the shape of the other one. While selected, going to [Select > Feather> ~15 pixels or so] softens the shape nicely. Use Blending Mode Screen to see them both.
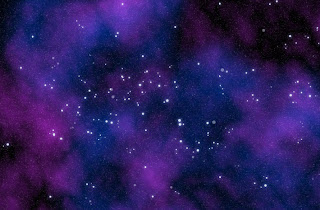
Combine that earlier star field with on a Screen layer to get something like this. Use these two layers to move/rotate/scale them around till you get something like the startup screen on a Mac.
Voila--!
I drew in the larger stars with a standard Round Brush and duplicated to add some variety. As an afterthought, I kind of wish I had spelled out something clever in the constellations.. o well, you can do that.
Choosy Moms Choose GIF
(It's the poor man's process vid !)


